
What's in My Camera Bag?

The question I am asked the most, without a doubt, is "what camera do you use?" so I decided it was time to create a blog post to answer that question. Keep in mind that I tried to keep this post informative yet succinct, so I won't be getting into the nitty gritty technical details about my gear. There are many websites that dedicate themselves to just that and do a much more thorough job than I could ever hope to do. This post is simply going to answer that ever-so-popular question and explain why I personally like and chose the equipment I did. So, without further ado, here is the camera gear that I use to take every photo you've seen on this website:
1. Canon 6D - I bought this camera about 3 years ago. It was the first "real camera" I bought. I researched, read countless reviews, and vacillated for quite some time between a Nikon and a Canon. Then I decided to make the decision even more difficult and I considered buying a mirrorless Sony. In the end I chose Canon, mostly for the cost which was excellent for an introductory full-frame camera. I also love Canon's exceptional battery life, especially when I head out on multi-night trips. It's nice to not have to lug around a charger and/or a Ziploc bag full of batteries like some Sony shooters I know, *cough* Alex *cough*. In all honesty though, Sony is changing the game with their mirrorless cameras and who knows, maybe some day I'll convert. But for now, I will use my trusty Canon!
2. Canon 16-35mm f/4L Lens - This is the lens I use for 99% of the photos you see on my site. At 16mm it is wide enough to capture the entirety (and then some) of the sprawling landscapes I often encounter while hiking. When paired with my Canon 6D I also have the ability to crop my photos in post quite a bit before the image quality suffers too much. This allows me to capture tighter compositions in addition to my wide shots, making it a nice walkabout lens. It also has 9 aperture blades that create quite a stunning sun flare, which I love to take advantage of nearly every sunny day.
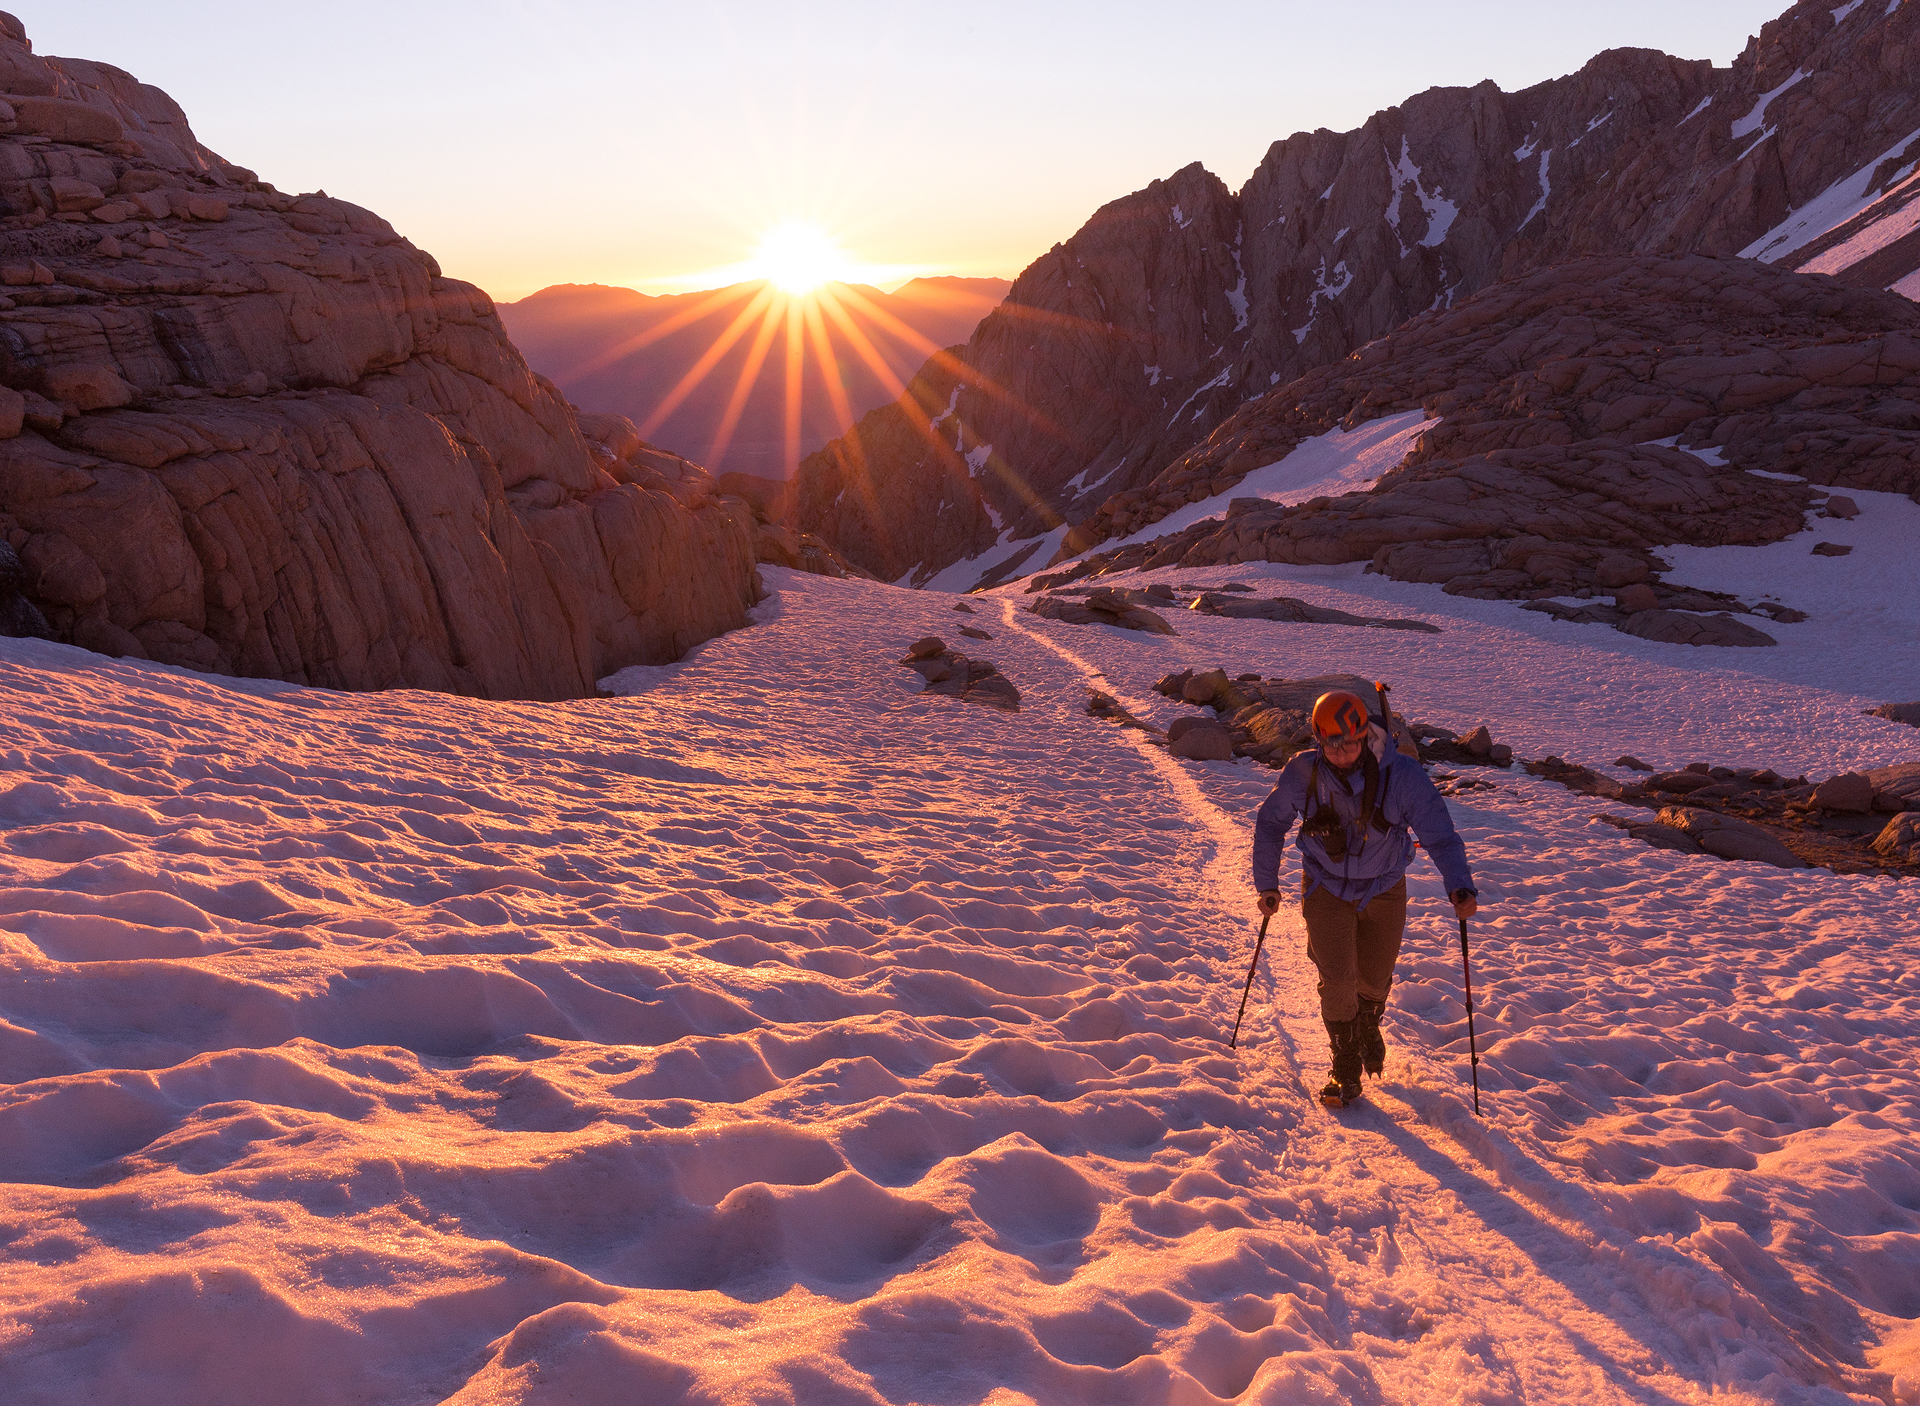
3. Satechi Wireless Intervalometer - I use an intervalometer for a few things. First, they are necessary for creating timelapses. You set the number of photos you want to take, the interval between each photo, and the length of each photo, then you plug it into the camera and let the camera do the work! Second, they are great for exposures longer than 30 seconds. I've used my intervalometer to take a few 20-45 minute star trail photos. Finally, an intervalometer is great for taking selfies! When no one else is around I can set my intervalometer to take a photo every 5 seconds or so, plug it in, and it will capture an entire timelapse-worth of selfies.

I used an intervalometer to trigger this photo in Wrangell-St. Elias National Park when no one else was around to press the shutter button for me.
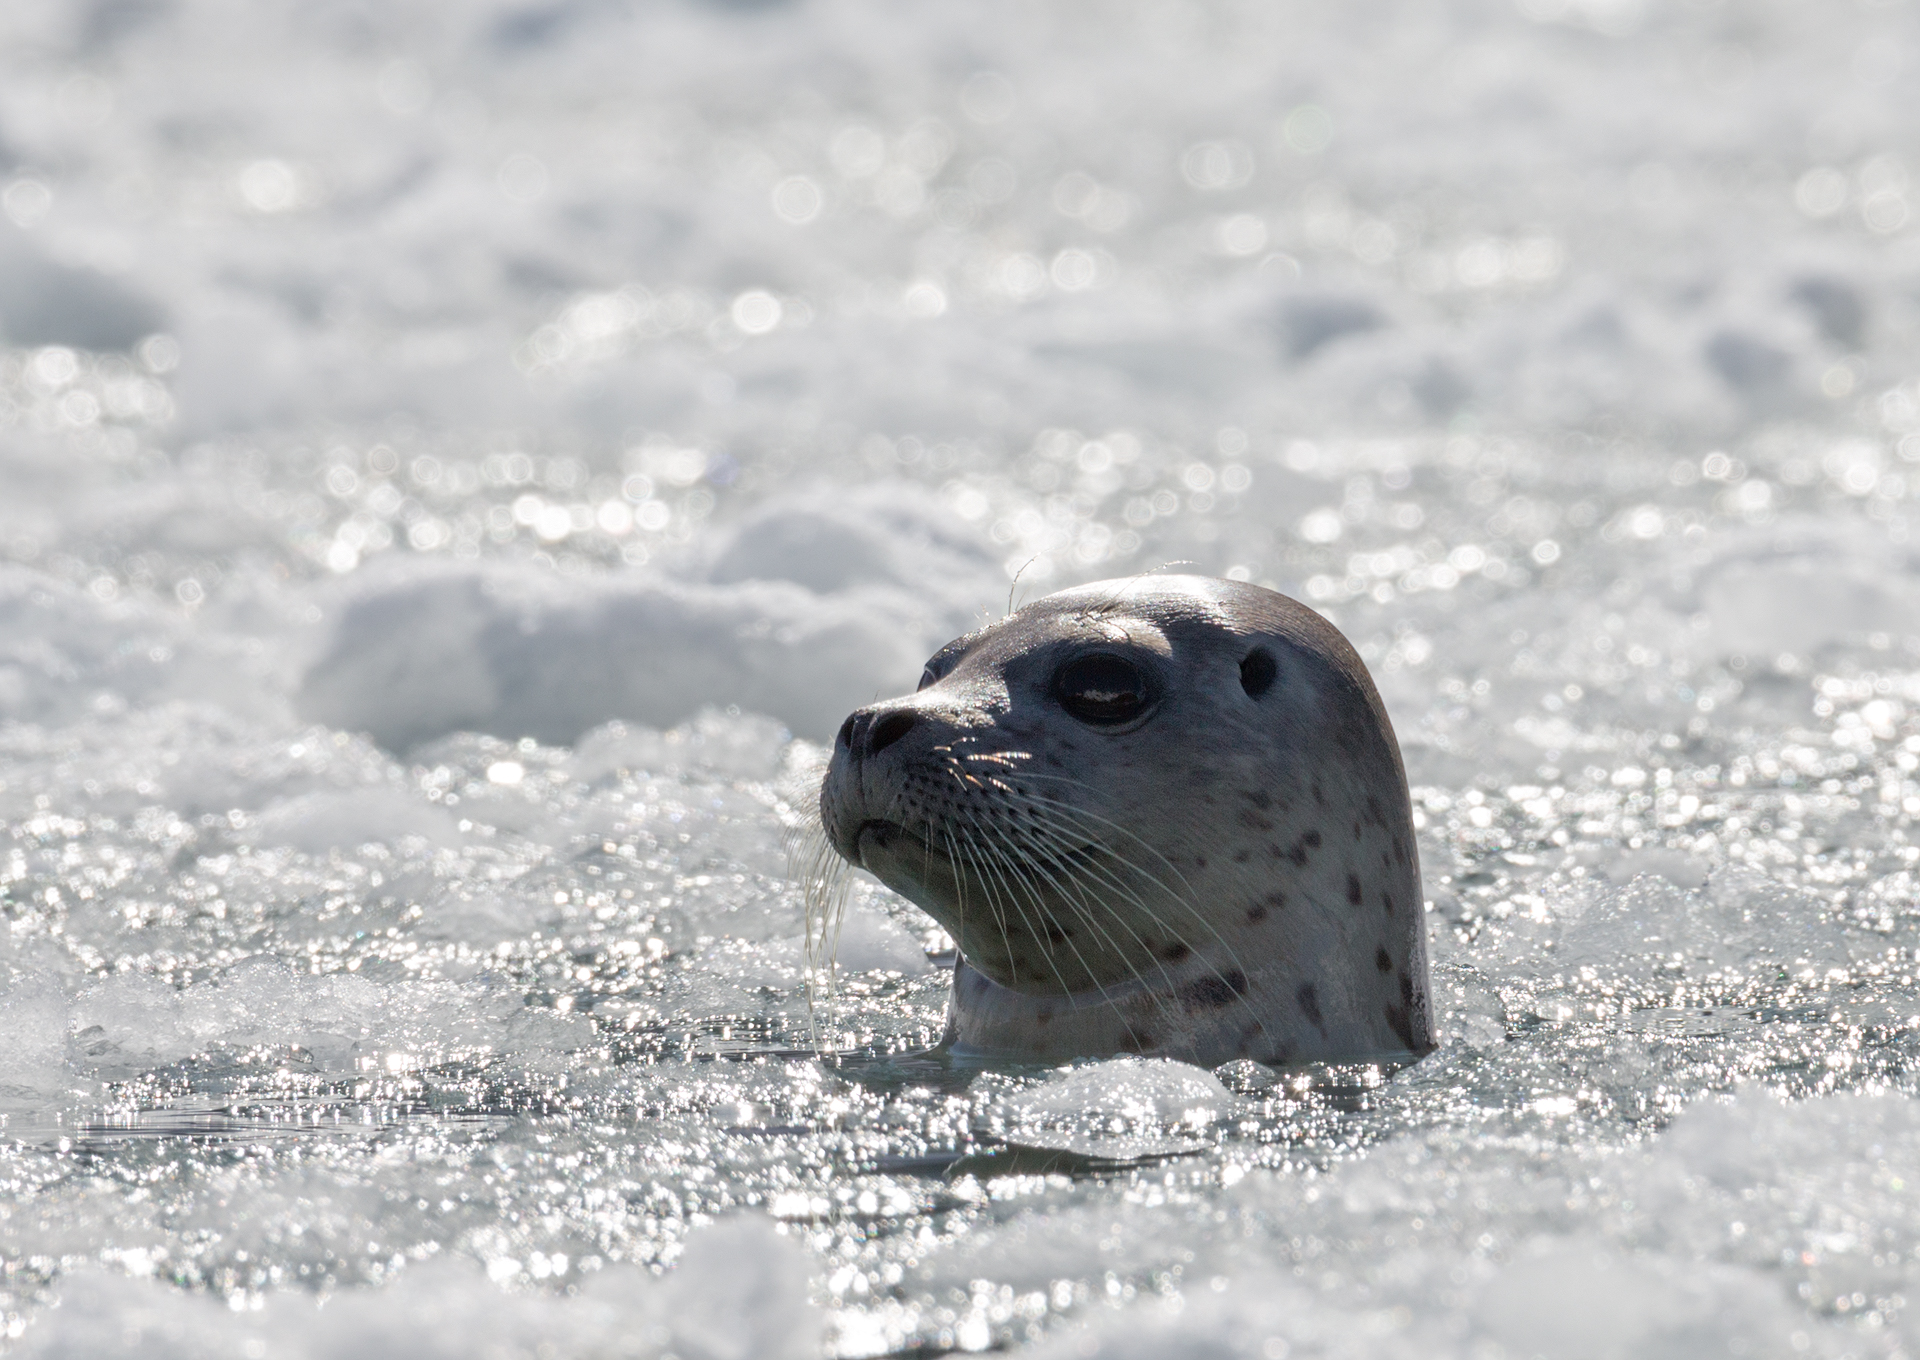
4. Tamron 150-600mm F/5-6.3 Lens - This is the telephoto zoom lens I use. I initially bought it before heading to Alaska for wildlife photography and it worked superbly. It is sharp and has great image stabilization. In fact, the image stabilization is so good I shot it handheld from a kayak. The downside of this lens is that it weighs 4.5 pounds, so it is never going to make the backcountry weight cut.
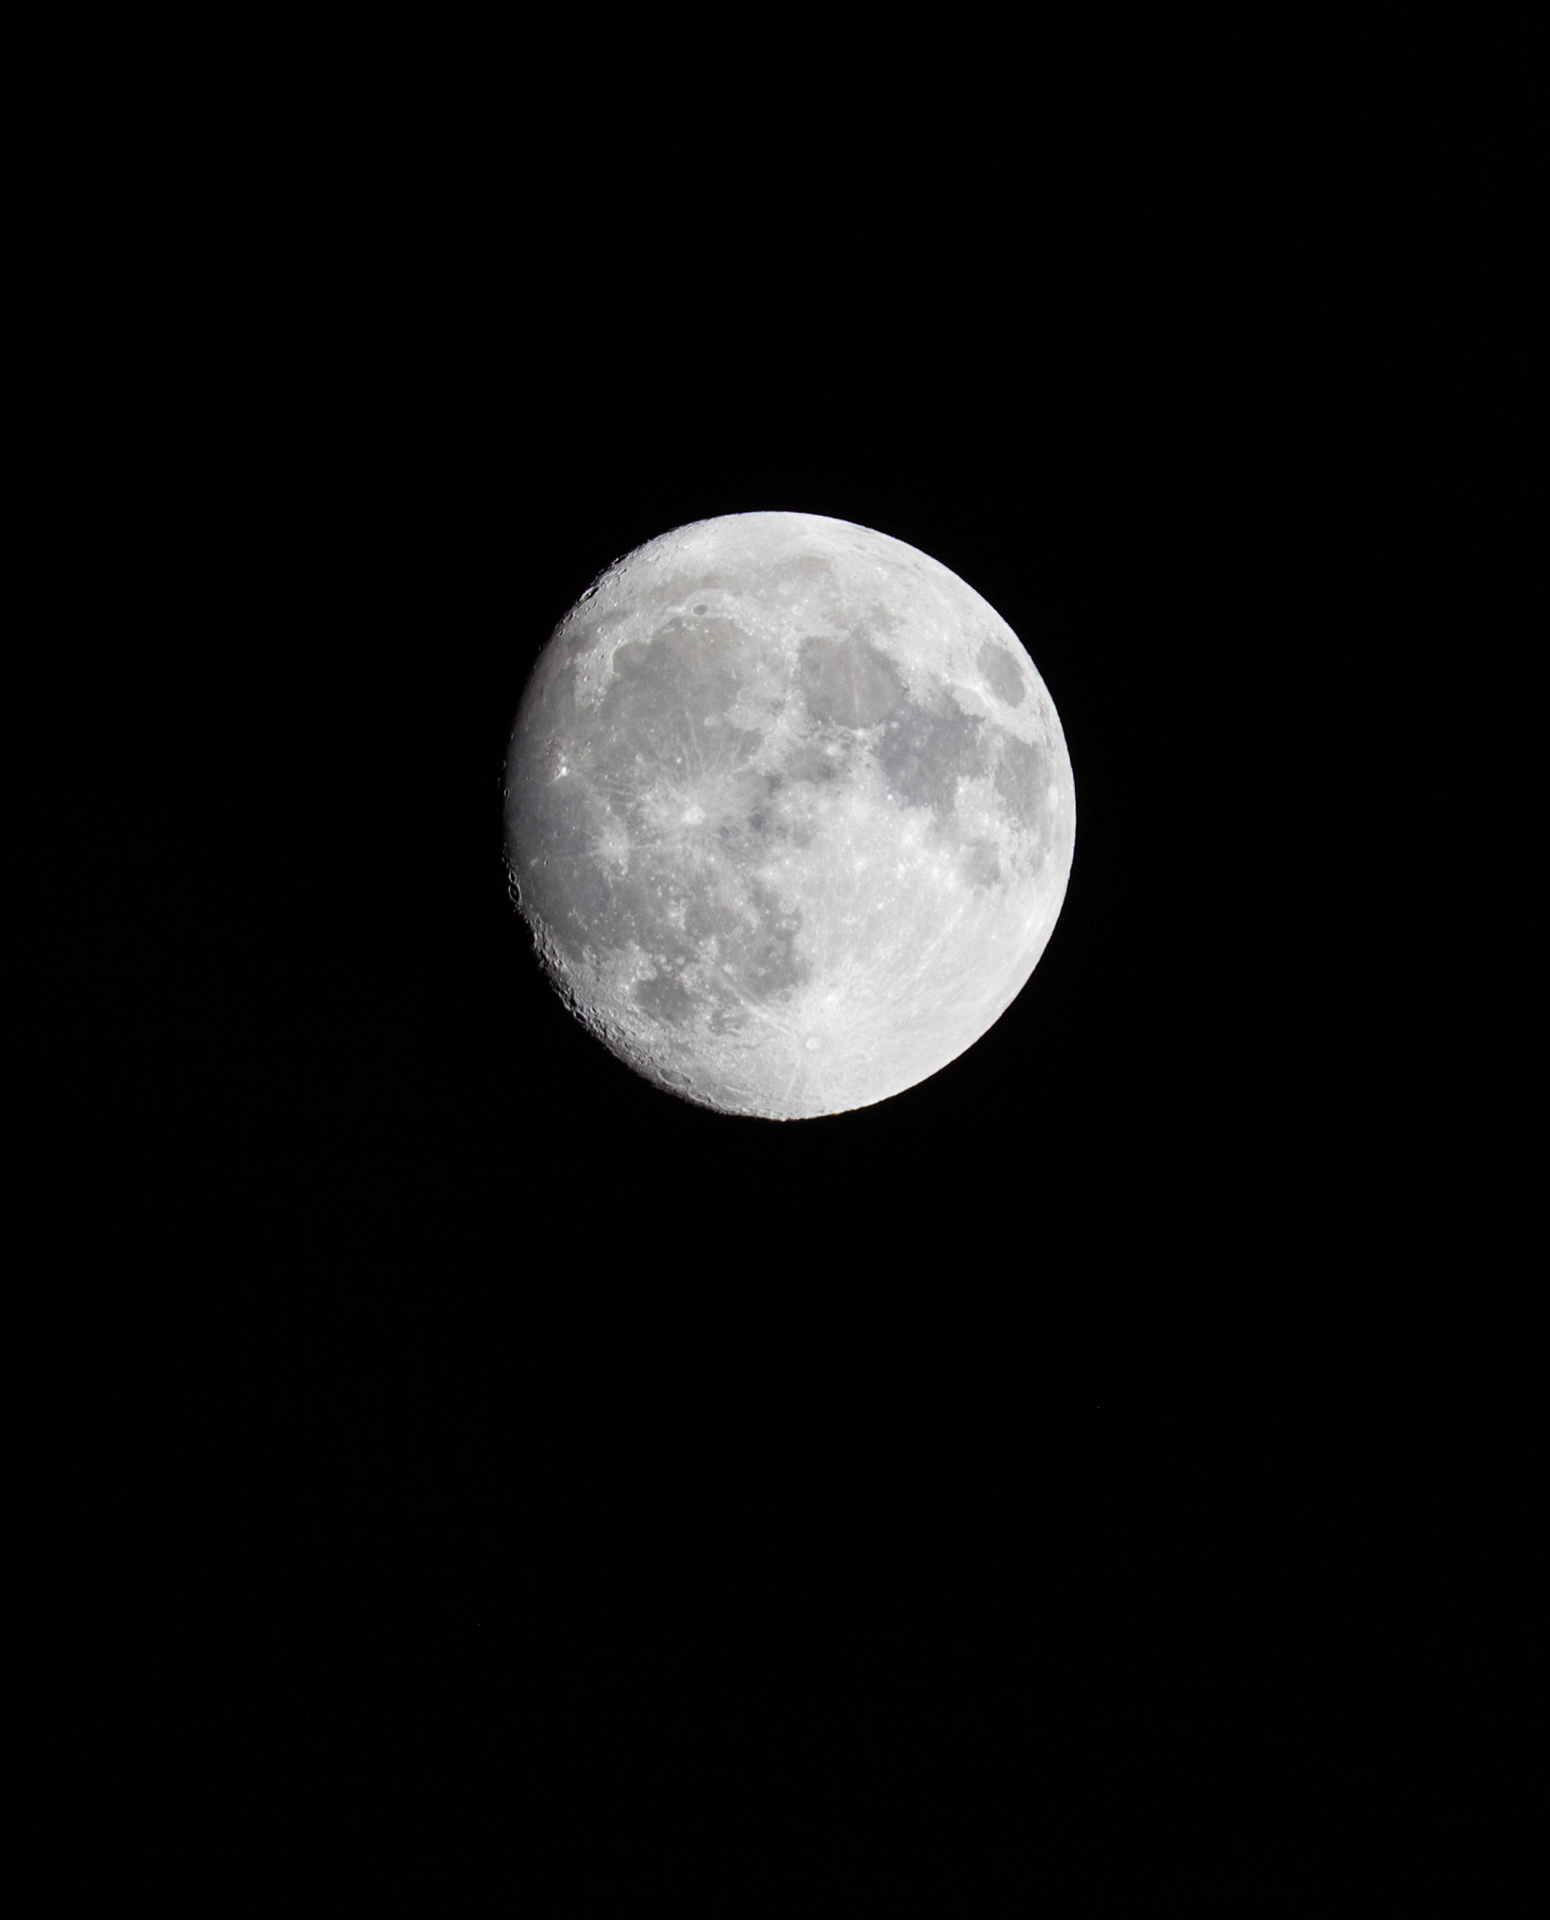
5. Rokinon 14mm F2.8 Ultra Wide Lens - This is the lens I use for all of my night photography. In order to properly capture the night sky you need a fast, wide lens that can let in plenty of light. The Rokinon 14mm fits the bill, and when its price is taken into consideration it's tough to beat.
If you want more tips on night photos I have written an entire post dedicated to it here.

6. ProMaster XC525 Tripod - I don't go out on any trips without this tripod. At 4 pounds it's not the lightest tripod out there but it's still light enough and compact enough for me. It's perfect for long exposure shots (waterfalls, night photography) and when I want to get a photo of myself, as I mentioned further up.

A 5 minute exposure taken with my B+W 10-stop ND filter
7. Filters - I use B+W filters. There are cheaper options out there but if you buy nice lenses it completely negates their effect if you put a poor quality filter over them. The filters I keep in my kit are: a circular polarizer, graduated ND filter, and a 10-stop ND filter. I use the circular polarizer when there is water in the scene as it reduces the amount of glare on the water surface. It also makes colors more saturated and I like that effect, so I use this filter quite often. I don't use my graduated ND filter nearly as much as I used to but I still carry it with me. I find it most useful when there is a huge difference between the highlights and shadows of the scene (e.g. sunrise and sunset), but it is most effective when there is a straight horizon and I tend to shoot in the mountains where straight horizons are tough to find. Finally, I carry a 10-stop ND filter which I use sparingly for extra long-exposure images.
8. GNARBOX - A GNARBOX is a portable hard-drive that you can also use to edit photos/videos on the go or in the backcountry. I always take this with me on extended backpacking trips so that I can backup my work at the end of each day. I've had an SD card die on me before, but thankfully that happened in the front-country and I had only taken a few photos on it. I can't imagine how upset I would be if I took a few day's worth of photos on an SD card and halfway through a backcountry trip it died. Luckily, my GNARBOX will prevent that from ever happening.

Backing up photos with a view.
Before you whip out your calculator I've done the math for you. All of this gear totals $4,831.66 (at the time of writing), which is a lot of money, I know. The last time I made a list like this on a website I got called out for the gear being too expensive, but you also must realize I did not buy all this gear at once nor am I saying this is what you must buy. This is just a list of what I currently use.
If you are looking for ways to save money on photography gear you can look into buying used equipment. There are plenty of photographers who are constantly upgrading their kit and selling their old gear; BH Photo's used department (here), Craigslist, and eBay are all places you can find high quality, used cameras and lenses. Additionally, you can rent gear from sites like Borrow Lenses if you aren't certain you want to take the plunge yet or if you only need a lens or camera body for a short amount of time.
Finally, you can buy the best gear in the world but if you don't know how to use it, it will be worthless. This is why so many people end up with DSLRs that do nothing more than gather dust on their shelf. They don't take the time to learn the basics of photography before buying the camera and assume having a nice camera will allow them to take great photos but that usually isn't true. Just because I bought the best oven doesn't mean I'm ready to compete on Cupcake Wars! Before you invest in a thousand dollar camera I recommend reading this book and practicing the non-technical photography skills such as finding good compositions and leading lines, and playing with lighting. Once you feel confident in those areas and you feel ready to take your photography to the next level, then invest in a DSLR!