
Backpacking 101: Personal Hygiene in the Backcountry
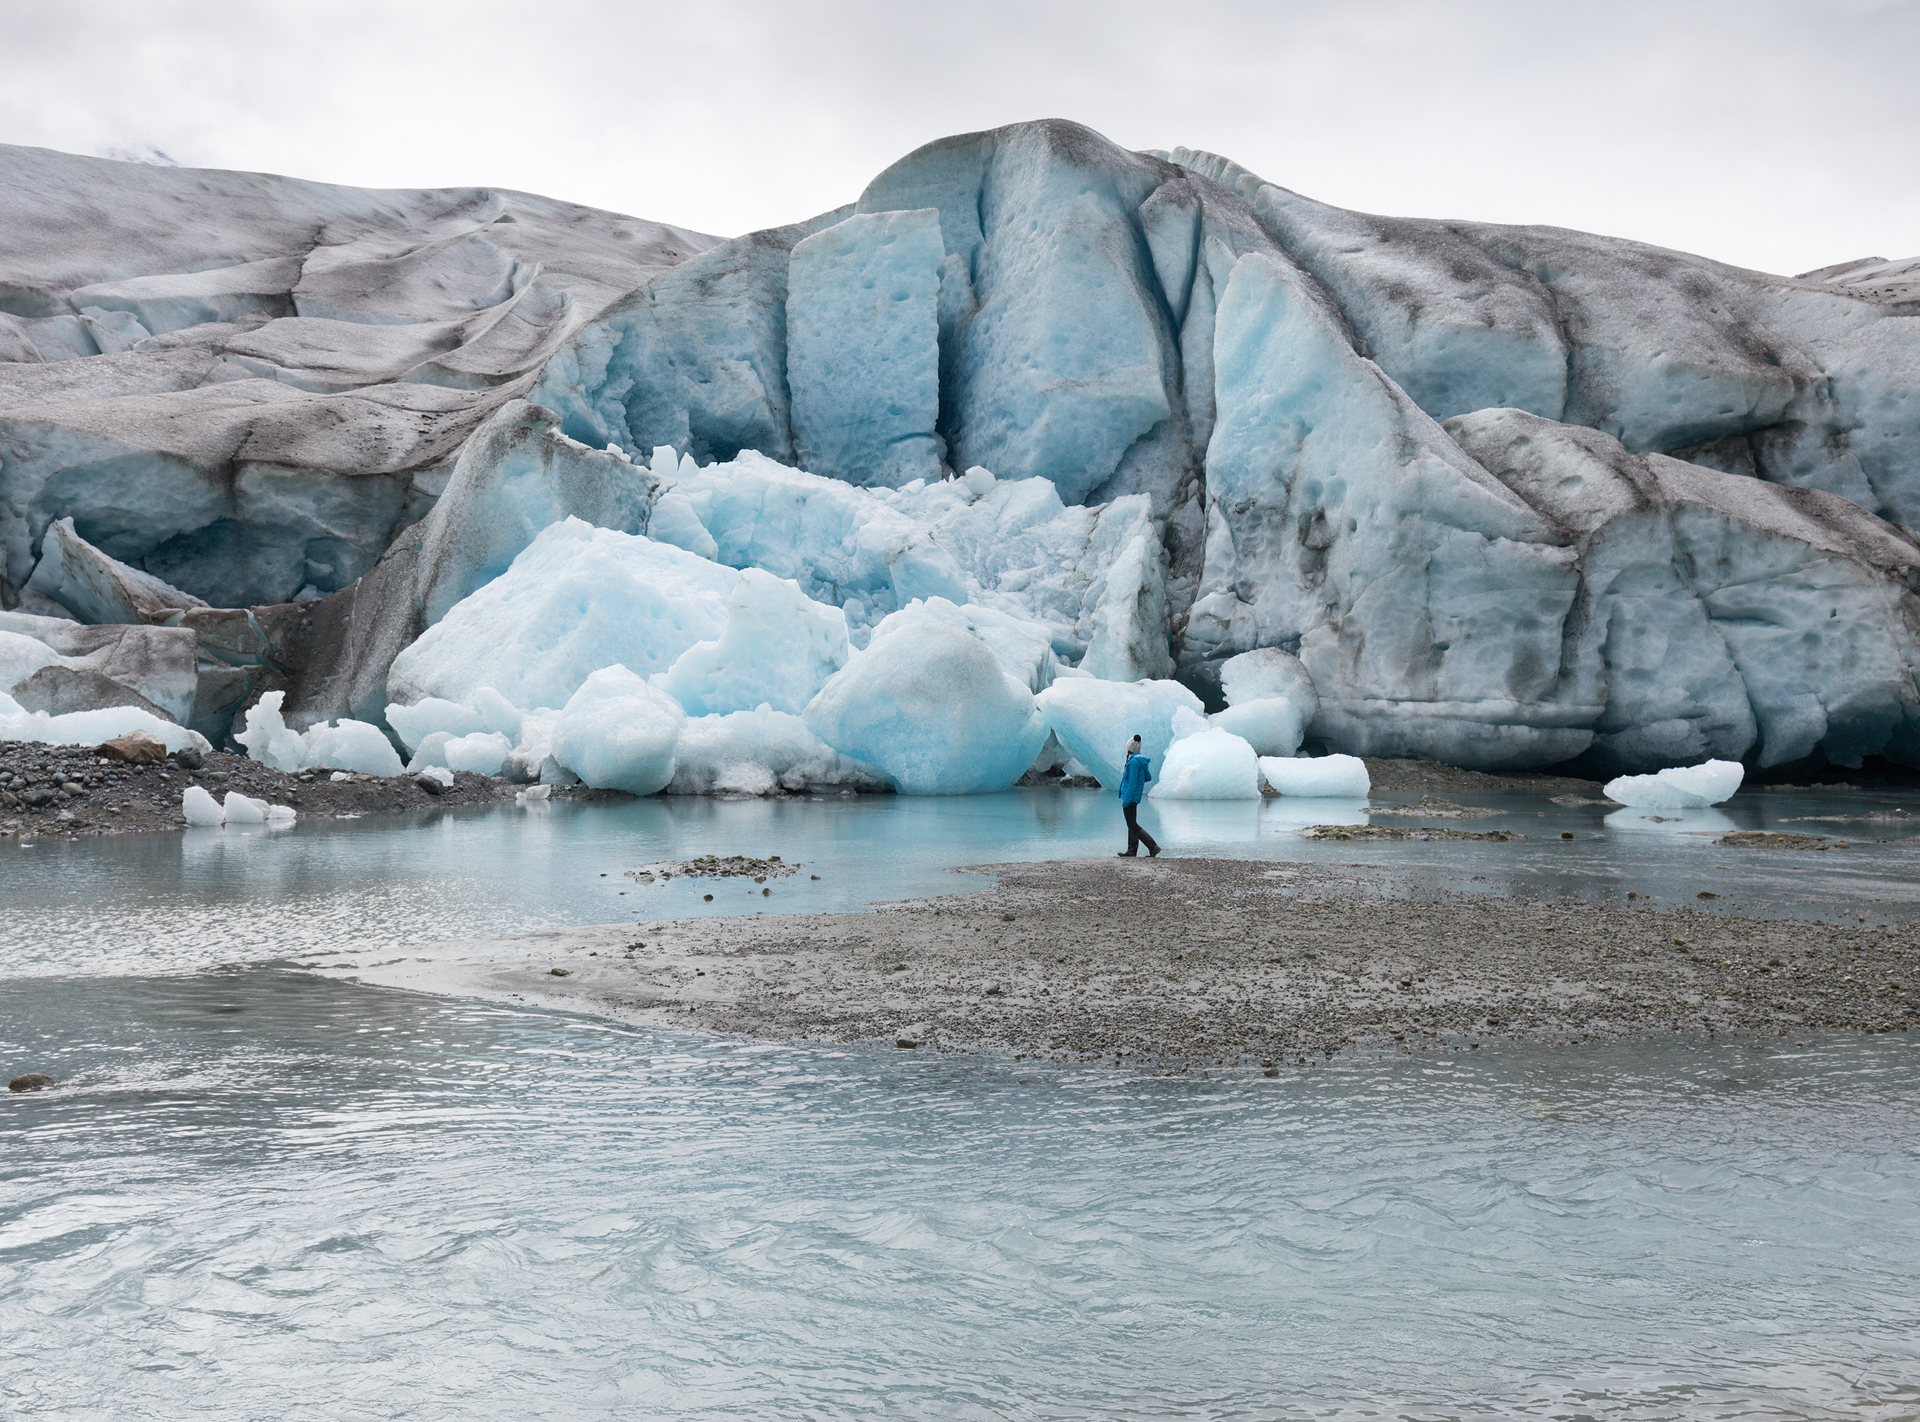
On a 6 day trip through Glacier Bay National Park
Back with another addition to my Backpacking 101 series! This time we're going to talk about personal hygiene. How clean (or dirty) you want to be in the backcountry is entirely up to you, and possibly how much stench your companions are willing to endure. Some people love to embrace the dirtiness but others like to try to stay as fresh as possible. This post will include some tips you can choose to follow or ignore based on where you fall on the cleanliness spectrum!
TOILETRIES I BRING INTO THE BACKCOUNTRY:
All of the following is stored in a bear can (if a bear can is required where I’m backpacking, which it almost always is) since most of it is scented and it makes sense to keep it all together.
Travel size toothbrush, toothpaste, and floss - If you brush and floss regularly in the backcountry, your mouth will be the cleanest part of you!
Hand sanitizer - I use hand sanitizer after using the bathroom and before eating, without fail every time.
Biodegradable soap - While hand sanitizer kills bacteria and ensures you won't have to worry about getting sick it does not actually wash those dead bacteria or the grimy dirt from your hands. For that you need soap! Please keep in mind that biodegradable soap can not go into a water source. You are meant to get water from a source, carry it 100 meters away, and then use the soap there. Also, keep in mind this soap does not foam and it’s highly concentrated, meaning you only need a drop to wash your hands! You can also use this wash to launder your clothes if you are on an extended trip.
Moisturizer - This is more of a luxury item but I like to still moisturize my face once a day while in the backcountry. I'm at the age where fine lines are becoming an issue and I want to make sure that my skin is moisturized at all times. I’ve been using this moisturizer for the past year and it has done wonders for my skin.
Face wipes - This is another luxury item, but I thoroughly enjoy washing my face with these wipes every morning before applying my moisturizer. It’s nice to have some semblance of a morning beauty routine even if it’s just using a face wipe and moisturizer!
Wet wipes - I love the Sea to Summit wilderness wipes. They're super thick, and you (usually) only need one to clean your whole body! There is nothing that feels better than getting to camp, wiping down your whole body, and slipping into your clean camp clothes. In this way, your camp clothes can stay relatively fresh and clean throughout your time in the backcountry. I use these once a day while on multi-day backpacking trips (I won’t bring them on an overnight trip).
Travel size sunscreen - Sun protection is of utmost importance!
Chapstick with SPF - The wind and sun can really do a number on your lips, applying chapstick can help combat damage.
Contacts for each day I will be out and glasses for night
Small hairbrush
Optional: Deodorant - You're going to smell, there is no escaping it. If you are hiking long distances you're going to sweat, it’s going to seep into your clothes, and you’re going to stink. You can combat it slightly by applying deodorant each morning. I admittedly do not bring deodorant into the backcountry. I did on my first couple of long trips but realized that it didn’t seem to make much of a difference ¯\_(ツ)_/¯

Jumping into an alpine lake after wiping all my sunscreen and bug spray off!
- BATHING IN THE BACKCOUNTRY -
While I know many people like to use lakes, streams, rivers, and any other large body of fresh water in the backcountry as a bathtub to scrub themselves down in, you should actually scrub yourself off before even stepping a toe into the water. Deet, sunscreen, and perfumes pose a threat to the native fish populations and they poison our own and other hikers’ water sources. To avoid deet-ing the fish scrub yourself with a wet wipe before hopping in the water and then float around to your heart’s content. It’s still refreshing and you can rest easy knowing that you didn’t contaminate a water source!
Another way to clean off in the backcountry is with wilderness wash and a makeshift shower. I like to create a shower using my Platypus GravityWorks filter. I filter the dirty water to fill up the clean bladder and then attach it to a tree branch 100m+ from the water source. Then I detach the filter and the dirty bladder portion, and set them aside. I then open the gauge on the hose and let the water flow over me and close the gauge. Then I scrub up with my wilderness wash and then rinse off. This method hardly uses any water at all and it feels like a refreshing shower! When I’m on extended backcountry trips I also use this method to wash my clothes.
Finally, one last note about keeping your hands clean: Don’t touch someone else’s food in the backcountry, don’t let anyone touch your food, don’t shake hands. It might seem a little excessive, but you can get giardia if someone else didn’t clean themselves properly after going number 2. I’ve seen enough grown adults not wash their hands in public restrooms—when the sink and the soap is conveniently right there—to know I can’t trust everyone I meet in the backcountry to take an extra step at staying clean. It’s not worth the risk. This also means that if you have something like trail mix as a shared group snack everyone should be shaking it out into their hands instead of reaching in to pick pieces out!

A backcountry toilet with a view (Alpine Lakes Wilderness)
- USING THE BATHROOM IN THE BACKCOUNTRY -
Going Number 1
For men: This one’s easy. You got this.
For women: It’s a tad more complicated for us. The first, and most obvious option, is to squat. However, there’s a relatively new device on the market called a urination funnel that allows women to urinate while standing. This is great because it means we don’t have to expose our bums to other hikers, mosquitos, and itchy leaves every single time we have to pee. Backpacker Magazine did a pretty thorough job testing all the different funnels, so if you’re interested in reading more about the funnel please click here! I also recommend using a “pee rag”, which is a piece of cloth that you can use to wipe. Not wiping puts women at risk of yeast infections but TP is a hot commodity in the backcountry, so if you don’t want to have to dig out the TP every time you need to use the loo just use a pee rag. I have an old bandana that I use and then tie to the outside of my pack so it can dry in the sun.
Going Number 2
For everyone: Ah, not much makes you feel more like an animal than pooping in the woods! Everyone knows how to poop but not how to poop in the woods. Some backcountry camping spots have pit toilets or compost toilets, but most don’t. In order to follow LNT, not contaminate the water source, and ensure everyone has a happy hike you should always walk at least 200’ (~80 steps) from a water source, trail, or camp to dig your cat hole. The hole should be at least 6” deep as this is where poo-eating bacteria live! If you’re unsure of how deep 6” is you can use one of these trowels, they have a ruler on the side.
A quick tip if you’re an urgent pooper: dig your hole before you feel like you need to go, that way you won’t have to frantically dig a hole at the last second. And if you don’t dig a hole in time and end up going on the ground, don’t let it sit there. You can still dig a 6” hole and use a stick to push your poop in so it doesn’t sit on the surface. No one wants to be a “surface pooper”!
Toilet paper. Pack it out. Do not bury it. You may think you did a great job of burying it but you know who’s better at digging? Animals! Also, do not burn it. Just bring a plastic bag (I line mine with duct tape so you can’t see inside) and use that to carry out all your used TP and throw it away when you get back home. It’s so easy!
Finally, one last tip before we move on from this subject. To make your poop break down faster, throw some dirt on it and stir it up with a stick or a rock before burying it. That’s a sentence I never thought I’d write!
**NOTE: Some wilderness areas (such as canyons or anywhere snowy) require you to pack out ALL human waste in a wag bag since there are no adequate areas to bury it. Please check all guidelines for any wilderness area or park you are entering ahead of time so you can abide by their regulations.

On Day 4 of 9 on the Wonderland Trail
- GETTING YOUR PERIOD IN THE BACKCOUNTRY -
It wasn’t until I was talking to a friend who said something along the lines of “you know, one of those backpacking trips you can’t go on if you’re having your period” that I realized that some people might think that getting your period means you can’t go backpacking. And I understand that some women have extremely painful periods, that would indeed make it impossible to do nearly anything during that time of month, let alone backpack, and I feel for them. For women who would like to backpack even when they’re menstruating, there are a few options for dealing with the blood.
Pads or tampons - You can easily use pads or tampons in the backcountry, it just requires some extra packing. To do this I recommend bringing two plastic bags. One full of the number of pads or tampons you expect you’ll need and another that is covered in duct tape (like the used TP bag) to store used pads/tampons and discarded packaging. Keep these at an easy-to-access pocket on your backpack and you’re good to go!
Pros: Faster changing times, less mess
Cons: More waste to pack out, have to change them more often, they can smell
Menstrual cup - Another option is a menstrual cup. These are silicone cups that are inserted into the vagina to collect the menstrual blood. 2 to 3 times per day the cup needs to be emptied, rinsed, and reinserted. This is my preferred method. I use a Diva Cup and while I initially bought it for backpacking, I now use it all the time. Using a cup does take more time and it is more of a… production, but you only need to change it a couple times per day so it usually isn’t too much of a time suck. Before I take it out or put it in I wash my hands with soap to get all the dirt off. Also, you have to treat blood the same as you would treat any other human waste; you must empty it into a 6” cat hole 200’+ from a water source or trail (or if blue bags are required you must discard it in a blue bag and pack it out). Before I put the cup back in I rinse it off with clean, filtered water.
Pros: Less money over time (they cost ~$40 and are good for 2-3 years), less changing (good for up to 12 hours), no waste to pack out
Cons: It takes more time when you do change them, it takes practice to get the seal correct, they don’t work for everyone, can be messy

Backpacking in the Sawtooth Wilderness
- CONTACTS VS. GLASSES -
I’ve been wearing contacts since I was in high school, without them in I can’t see anything that isn’t within a few feet of my face so it is always very important that I have my corrective lenses while in the backcountry. There are a few different options I’ve tried for vision correction in the backcountry and this is what I’ve discovered:
Night and Day Contacts- I initially tried the night and day contacts thinking that it would be convenient to just bring one pair of contacts and not have to worry about taking them out at night. Unfortunately, I was in the middle of the Alaskan backcountry when I realized the flaw in my plan. My eyes were extra dry on that trip and feeling very irritated. I tried to just suck it up and deal with the pain because I didn’t bring any backup lenses, lens cleaner, or a lens case so I couldn’t take them out because I would never get them back in. Then I was rubbing my eye while on a break and one just popped out of my eye, like my body was rejecting it with all the force it could muster, and fell onto the tundra. So I was forced to take the other contact out and wear my crooked glasses the rest of the trip. If you do want to use night and day contacts in the backcountry I recommend bringing a lens case, cleaner, and backup glasses just in case you want to give your eyes a rest.
Pros: You don’t need to take them out every night, you only need one (or two) pairs per trip
Cons: Can dry out/irritate your eyes
Daily Contacts- This is my preferred choice. I pack as many contacts as I’ll need for the trip (plus a few extras just in case). This way I don’t have to pack a lens case or lens cleaner. I usually take my contacts out shortly after arriving to camp and put them in after breakfast. Changing contacts in the backcountry means you need to have very clean hands! I wash my hands with soap and water before taking them out or putting them in. You can use hand sanitizer but if you don’t let it dry it will sting, and you could risk getting dirt in your eyes.
Pros: Allows your eyes to rest every night
Cons: You have to pack quite a few contacts for longer trips
Glasses - Or you might want to opt to skip the contacts altogether and just use glasses. This is a simple solution as well!
Pros: You don’t have to touch your eyes while in the backcountry, nothing extra to pack
Cons: If it rains your glasses will feel like they need windshield wipers, you will also need to carry prescription sunglasses to protect your eyes from the sun
A reader also kindly recommended using Systane Ultra, an over-the-counter eye drop, to keep your eyes lubricated in the backcountry. The eye drops also help treat your eyes if dust does somehow get into them and infect them.

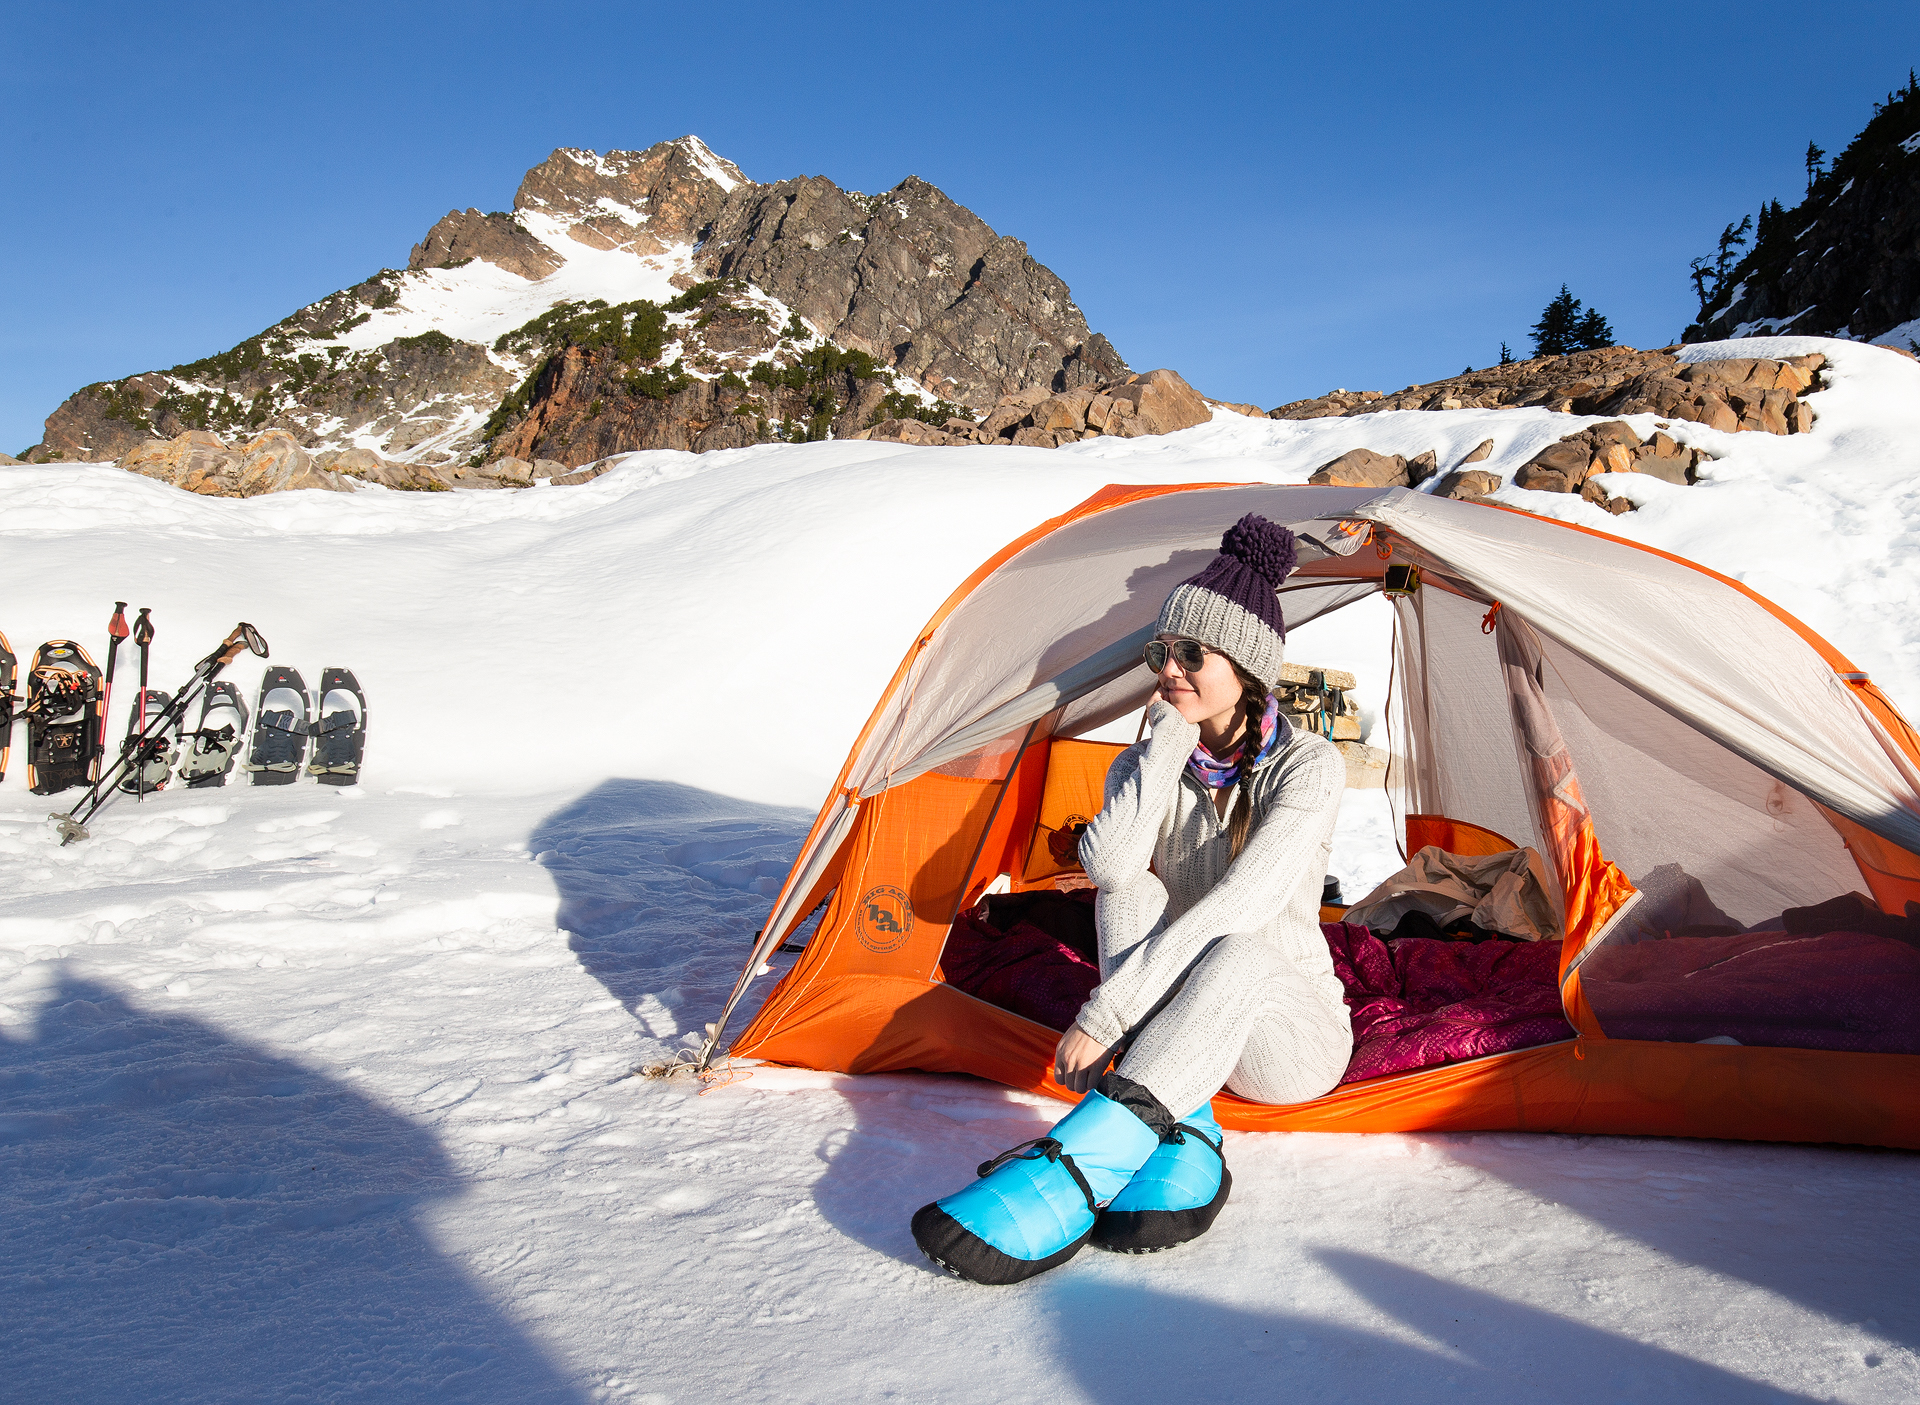
Set up camp and immediately changed into my camp clothes! (Ansel Adams Wilderness)
- WHAT TO DO WITH YOUR HAIR IN THE BACKCOUNTRY -
If you’ve watched my Instagram stories while I’m on a trip you may notice a pattern in my hairstyle: I always am wearing two low braids! This isn’t for style, although now it is sort of my signature backcountry look and Alex has dubbed them “adventure braids”. This is solely to keep my hair from becoming a disastrous rat’s nest. I have very fine hair that tangles easily and I’ve tried so many different hairstyles: high and low pony tails, buns, down, but at the end of the very first day of any trip my hair would already be in knots. Then I tried two low braids. I got to camp on the first day to brush out my hair and, to my surprise, I didn’t have a single tangle! So this is my go-to now. I like to brush out my braids and redo them when I get to camp and before I leave in the morning. Now tangles aren’t an issue at all!
This is what I’ve learned while backpacking for the past few years but by no means is it an all-inclusive list. If you have any tips of your own or anything to add I’d love to hear in the comments section below!
Happy hiking!
Rocking the side braid in Gothic Basin
OTHER BACKPACKING RESOURCES:
Disclosure: This blog post contains affiliate links meaning, at no additional cost to you, if you click them and make a purchase I will receive a small commission.